Adjustable tool drawer dividers
Compare adjustable boundaries with drawer geometry, small-item gaps and the return routine.
What to organize
Plan compact clamp storage around protruding jaws, rails and the actual stored position.
Small clamps
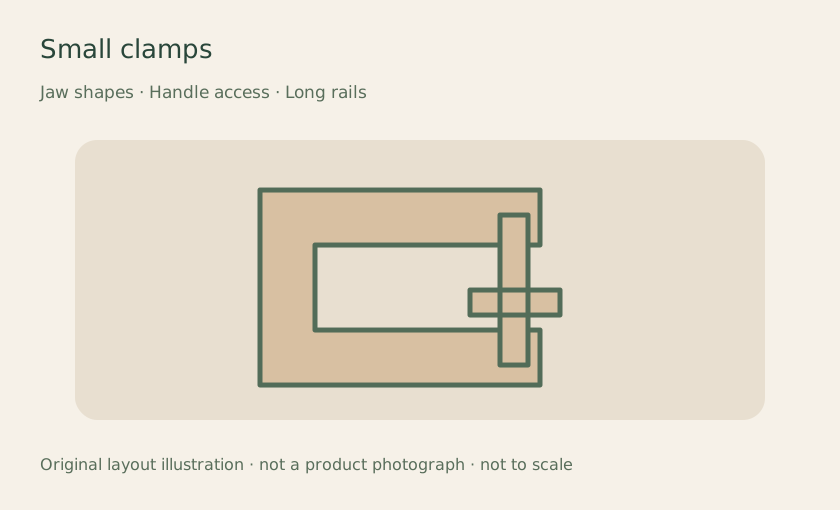
Keep it looking put together. One defined clamp group prevents projecting handles from spreading through adjacent lanes.
Avoid: Assuming a compact package image describes the clamp’s normal stored outline.
Compare adjustable boundaries with drawer geometry, small-item gaps and the return routine.
Reserve a supported position for bulky heads and long handles in a tool drawer.
Compare liner coverage, thickness and care guidance before adding tool groups on top.
Editorial organization planning, not hands-on product testing or a tool/part compatibility guide. Retain original identifiers and follow the applicable product instructions.