Home / Hand-tool wall storage
Storage format
Wall accessory baskets: a clear place to return. Contain the small group without losing the last piece.
Wall accessory baskets
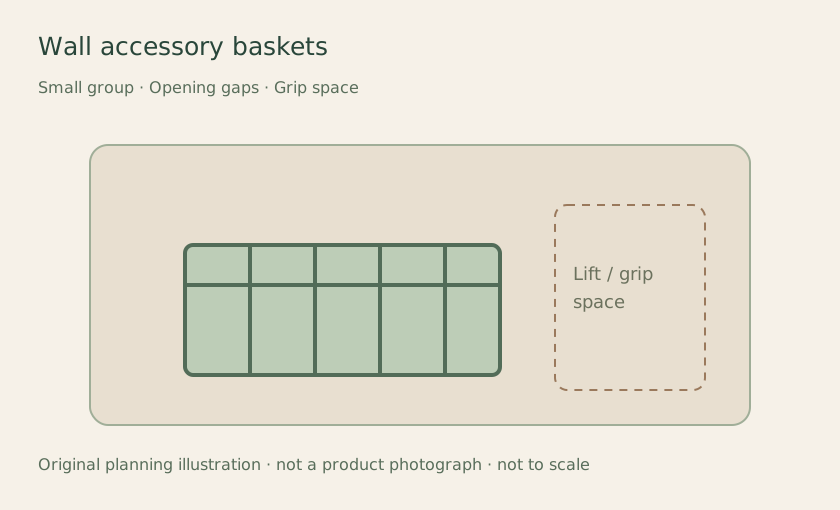
Original layout illustration · not a product photograph · not to scale. The image opens an Amazon category search, not an exact offer. Build a system you can keep using Choose one useful group per basket. Check exact panel, rail or slat compatibility before selecting an attachment. Use a separate inner container when small pieces do not suit the openings. Map these parts of the layout Small group Opening gaps Grip space Check the fit before filling it Compare the smallest piece with base and side gaps. Measure usable base, loaded depth and the space to lift the group. Keep it looking put together. Matching fronts and clear labels can calm mixed accessories.
Avoid: Assuming a basket is sealed, suitable for liquids or compatible with any slotted panel.
Choose the accessory and supporting system together. Fit, installation and load guidance belong to the exact holder, panel or rail, fixings and supporting surface. A planning outline does not establish capacity. Follow the selected instructions and keep access paths clear.
Primary examples reviewed 2026-11-13: Wall Control’s FAQ distinguishes its panel and hook designs. Rubbermaid’s FastTrack Rail page identifies its accessories and hardware requirements. These examples do not approve compatibility of Amazon search results.
When this format fits the job A small mixed group is easier to store together than hang individually.
Trade-off: Openings can lose small pieces and depth can hide the last few accessories.
Connected organizing ideas Separate the working block from the refill sheets.
Keep each jig’s identity with its matching pieces.
Keep the cleanup pair together without crowding the work zone.
Editorial organization planning, not hands-on product testing or a tool/part compatibility guide. Retain original identifiers and follow the applicable product instructions.