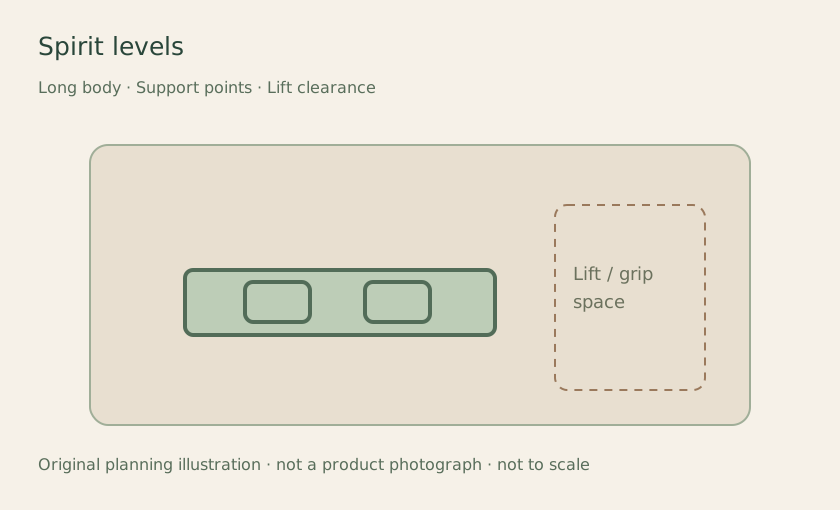
Spirit levels
Plan the full level and the lift above its holder.
Hand-tool wall storage
Give long tools, awkward shapes and accessory groups readable wall positions with model-specific fit checks.
Map the actual stored tools, including guards, long rails and projecting knobs. Keep daily groups recognizable from the work position. Preserve useful original cases and indexed sets rather than splitting a group that already works.
A tool can fit between hooks yet need more room to lift off. Include upward, sideways and forward movement and the space needed to grip it. Check the holder’s fitting and removal movement too.
Record the exact panel, rail or slat system and proposed accessory. Similar slots or hook shapes do not prove a match. Selected manufacturer instructions take precedence over an Amazon search image.
Include loaded baskets, shelf lips, clamp jaws and long handles. Compare that outline with the bench, vehicle, doors and walking route. A flat plan cannot establish whether loaded tools leave enough room.
Use selected holder and system instructions for the actual wall, fixings and collection. This guide gives no universal fastening schedule or load rating. Do not transfer a rail or panel headline capacity to every accessory.
Group by daily use or recognizable family. Repeat label positions, preserve identifiers and leave space for additions. Keep a drawer or original case for tools that do not suit the wall.
Plan the full level and the lift above its holder.
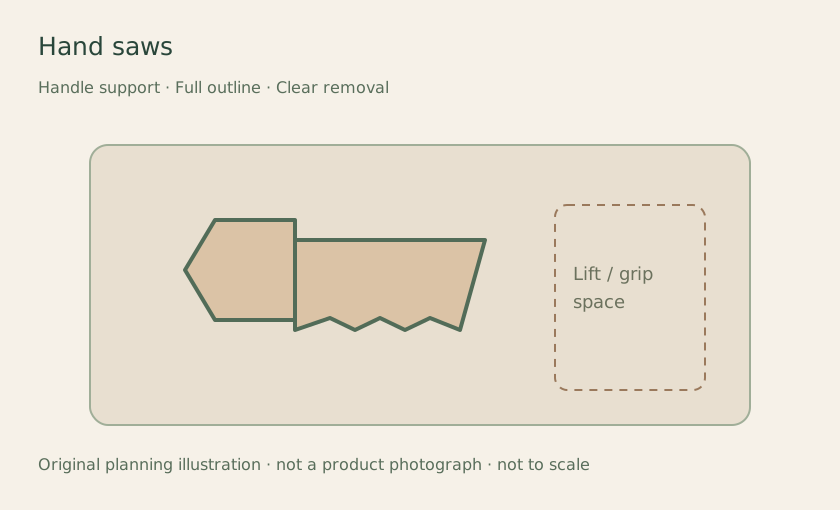
Give the handle a return spot and the full saw room.
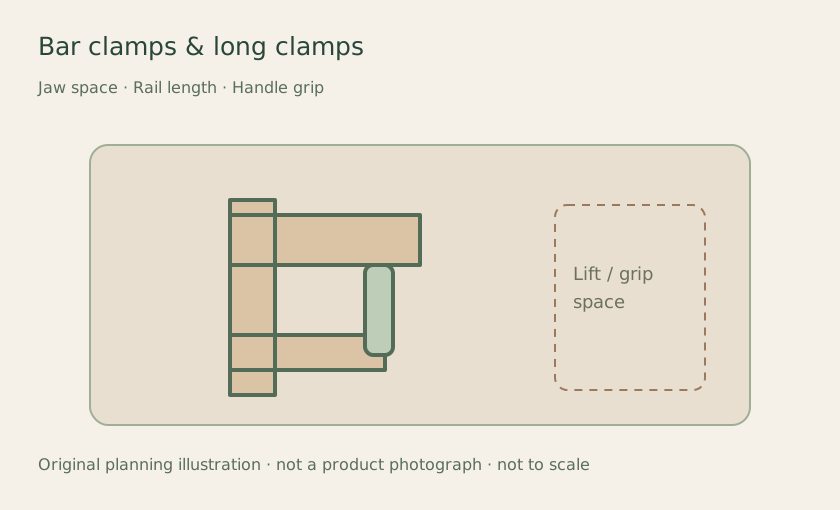
Leave room for the rail beyond the jaw.
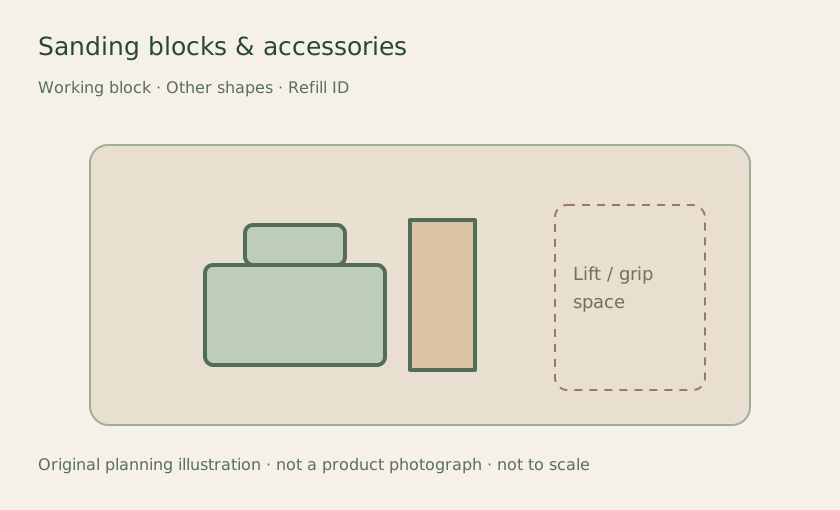
Separate the working block from the refill sheets.
Plan storage after the tool’s care routine.
Keep each jig’s identity with its matching pieces.
Reserve the broad outline before filling the wall.
Keep the cleanup pair together without crowding the work zone.