Home / Hand-tool wall storage
What to organize
Bar clamps & long clamps: a clear place to return. Leave room for the rail beyond the jaw.
Bar clamps & long clamps
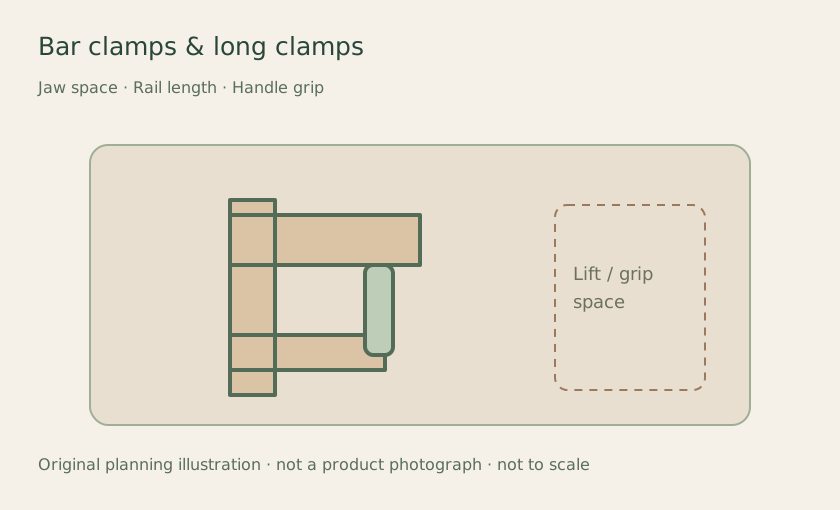
Original layout illustration · not a product photograph · not to scale. The image opens an Amazon category search, not an exact offer. Build a system you can keep using Group clamp lengths that can share an approach. Follow tool instructions for stored position and supported surfaces. Keep long rails out of neighboring removal paths. Map these parts of the layout Jaw space Rail length Handle grip Check the fit before filling it Measure the full rail, jaw projection and handle. Check rack fit, mounting requirements and load guidance for the actual collection. Keep it looking put together. Ordered lengths and one grip direction make a dense group easier to read.
Avoid: Deriving a rack’s capacity from slot count or a loaded product photo.
Choose the accessory and supporting system together. Fit, installation and load guidance belong to the exact holder, panel or rail, fixings and supporting surface. A planning outline does not establish capacity. Follow the selected instructions and keep access paths clear.
Primary examples reviewed 2026-11-13: Wall Control’s FAQ distinguishes its panel and hook designs. Rubbermaid’s FastTrack Rail page identifies its accessories and hardware requirements. These examples do not approve compatibility of Amazon search results.
Connected organizing ideas Choose the tool contact before the slot count.
Match the support spacing to the stored shape.
Plan compact clamp storage around protruding jaws, rails and the actual stored position.
Editorial organization planning, not hands-on product testing or a tool/part compatibility guide. Retain original identifiers and follow the applicable product instructions.