Home / Hand-tool wall storage
Storage format
Wall tool cradles & racks: a clear place to return. Choose the tool contact before the slot count.
Wall tool cradles & racks
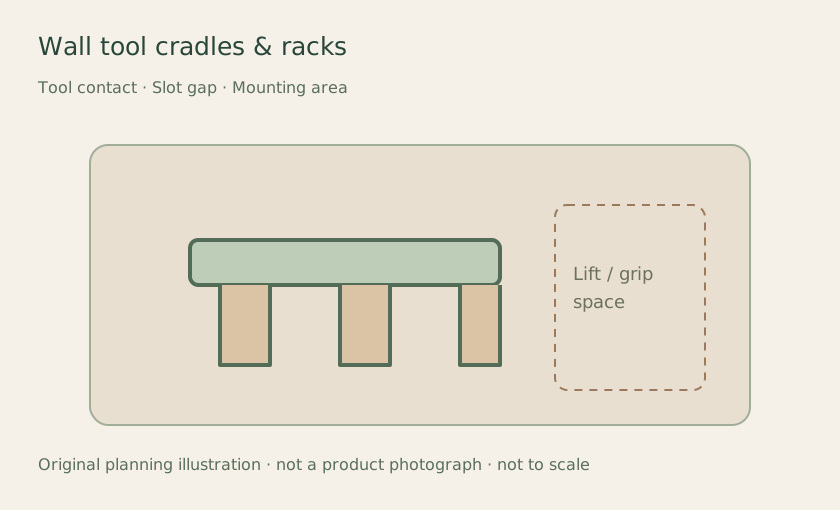
Original layout illustration · not a product photograph · not to scale. The image opens an Amazon category search, not an exact offer. Build a system you can keep using Check intended tool shapes and stored orientations. Keep tools needing different contact geometry in separate groups. Follow rack and supporting-system mounting and load instructions. Map these parts of the layout Tool contact Slot gap Mounting area Check the fit before filling it Measure the widest head and loaded projection. Check end positions and the height needed to lift tools out. Keep it looking put together. Ordered slots clarify return positions when the real tools fit.
Avoid: Using slot count as proof of retention, fit or installed capacity.
Choose the accessory and supporting system together. Fit, installation and load guidance belong to the exact holder, panel or rail, fixings and supporting surface. A planning outline does not establish capacity. Follow the selected instructions and keep access paths clear.
Primary examples reviewed 2026-11-13: Wall Control’s FAQ distinguishes its panel and hook designs. Rubbermaid’s FastTrack Rail page identifies its accessories and hardware requirements. These examples do not approve compatibility of Amazon search results.
When this format fits the job Repeated tool positions need shaped support or a readable slot sequence.
Trade-off: Fixed slots can suit a known collection but fit replacement tools differently.
Connected organizing ideas Leave room for the rail beyond the jaw.
Plan the full level and the lift above its holder.
Give the handle a return spot and the full saw room.
Editorial organization planning, not hands-on product testing or a tool/part compatibility guide. Retain original identifiers and follow the applicable product instructions.